Integrating Saber Feedback with GitLab
With our GitLab integration, Saber Feedback will create a GitLab issue for each feedback report you receive via your Saber Feedback button.
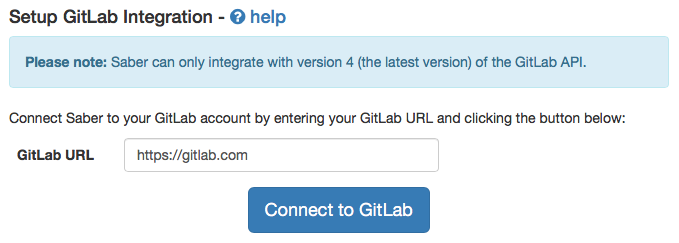
GitLab Integration uses OAUTH to connect with your GitLab account. If you are using a self-hosted GitLab CE installation, you’ll need to update the GitLab URL to point to your GitLab installation (if you’re not sure leave it as the default).
Once the URL is correct, click the Connect to GitLab button:
You will then be asked to authorize Saber Feedback to connect to your GitLab account:
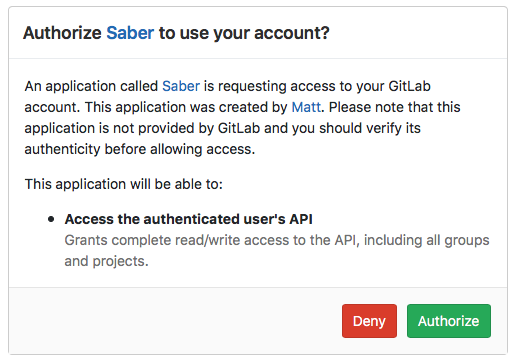
Click the green Authorize button. You’ll now be able to set up your GitLab integration:
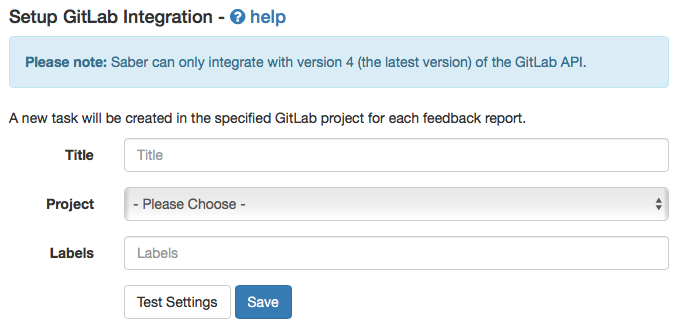
Title
Required
This allows you to define the title of the GitLab issues submitted through Saber Feedback. If the title contains {{summary}}, this will be replaced with a summary of the feedback reports description.
Project
Required
Here you can choose in which project you would like Saber Feedback to create issues.
Labels
Optional
In this field you can define any labels you’d like to be applied to tickets submitted though Saber Feedback. You can define more then one label by separating them with commas, eg: “Label One, Label Two”.
The Feedback category name will also be added as a label, and many users also choose to add a ‘Saber Feedback’ label, so they can differentiate between issues created through Saber Feedback, and those created directly on GitLab.
Test Settings
All integrations include a test button, which allow you to check the options you’ve specified are working correctly. Clicking the Test Settings button will send a sample feedback report using the data from the form to your GitLab account.
Clicking test settings does not save the integration, you will still need to click the Save once you are happy with settings.