Integrating Saber Feedback with Zendesk
Our Zendesk integration allows Saber Feedback to create a Zendesk ticket for each feedback report.
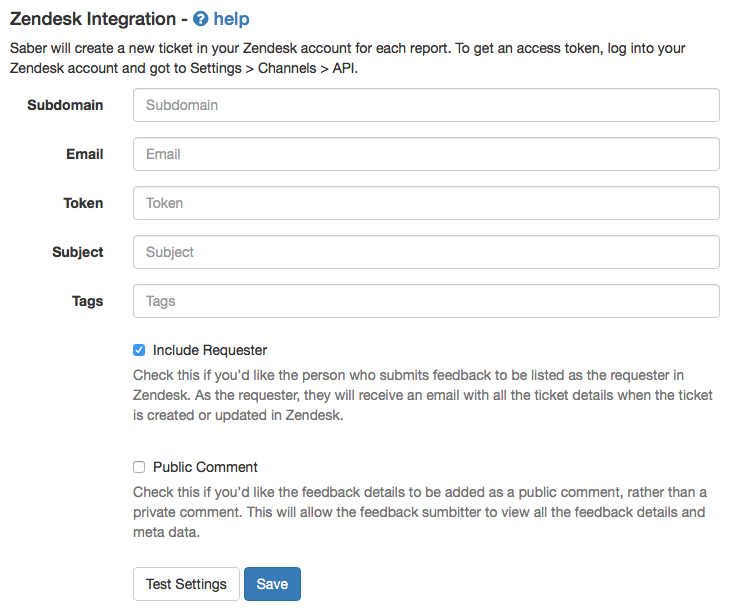
To integrate Saber Feedback with Zendesk you need the following information:
Subdomain
Required
This is the first part of your Zendesk URL, eg: if you log in at https://saberfeedback.zendesk.com then your subdomain is saberfeedback.
Required
Enter the email address you use to log in to Zendesk.
Token
Required
You can find your access token by logging into your Zendesk account, and clicking the  Gear Icon at the bottom left of the screen.
This will expand the settings menu on the left of the page, where you need click the API from under the CHANNELS heading. Then make sure the Token Access checkbox is checked, and copy the API token.
Subject
Required
This allows you to define the subject of tickets submitted through Saber Feedback. If the subject contains {{summary}}, this will be replaced with a summary of the feedback reports description.
Tags
Optional
In this field you can define any tags you’d like to be applied to tickets submitted though Saber Feedback. You can define more then one tag by separating them with commas, eg: “Tag One, Tag Two”.
The Feedback category name will also be added as a tag, and many users choose to add a ‘Saber Feedback’ tag, so they can differentiate between tickets created through Saber Feedback, and those created directly on Zendesk.
Include Requester
Check this if you’d like the person who submits feedback to be listed as the requester in Zendesk. As the requester, they will receive an email with all the ticket details when the ticket is created or updated in Zendesk.
Public Comment
Check this if you’d like the feedback details to be added as a public comment, rather than a private comment. This will allow the feedback sumbitter to view all the feedback details and meta data.
Test Settings
All integrations include a test button, which allow you to check the options you’ve specified are working correctly. Clicking the Test Settings button will send a sample feedback report using the data from the form to your Zendesk account.
Clicking test settings does not save the integration, you will still need to click the Save once you are happy with settings.